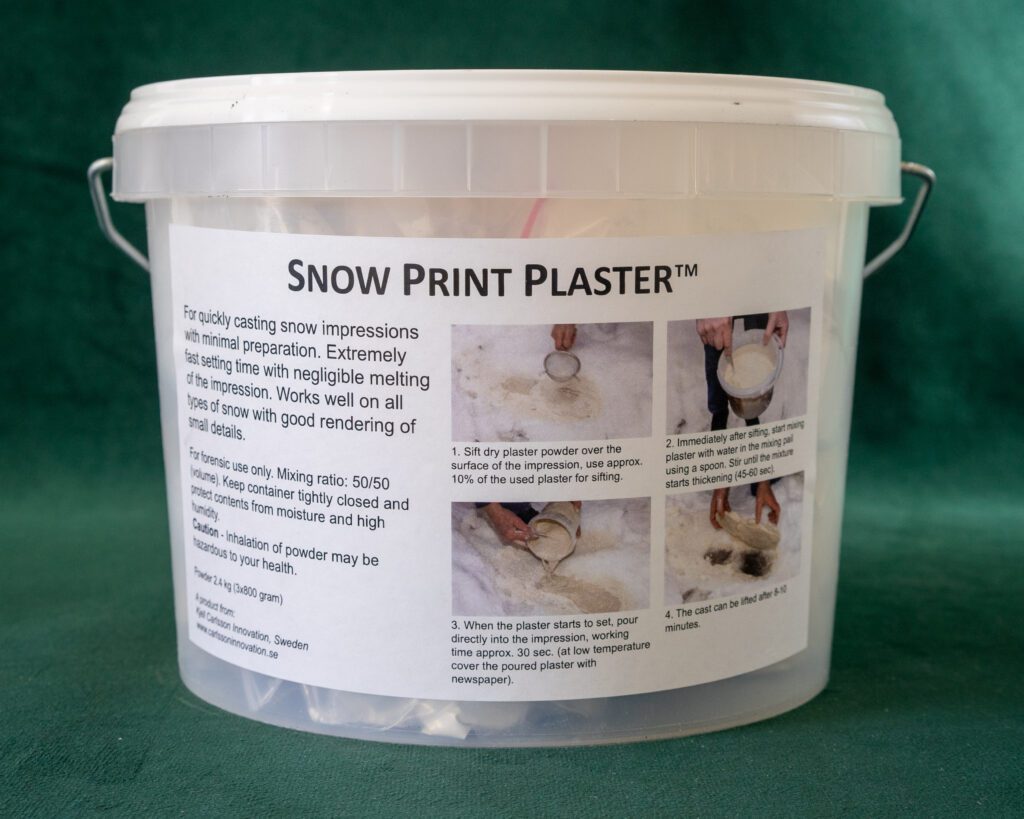
Snow Print Plaster
> Snow Print Plaster
For casting impressions in snow at the crime scene
Casting snow impressions with minimal preparation, fast setting time and no heat generation Works on all types of snow.
> Creates a casting impression of a shoe print in the snow
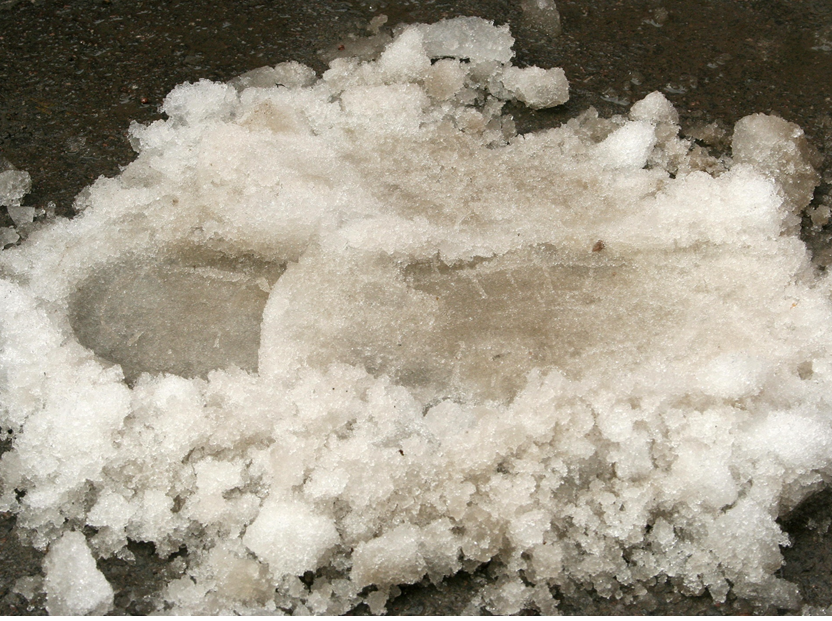
A shoe print in the snow is difficult to see the pattern of the impression. Here we have a suspected shoe for a casting of a snow impression. The casting was made from a week-old snow impression, at -15C° The technique works best on wet melting snow but also provides adequate results on cold frozen snow.
Lifting the impression can be easily done. First you need to sift over the shoe print. Put a thin layer of dry Snow Print Plaster powder on the impression that if you don’t, you won’t get a good result.
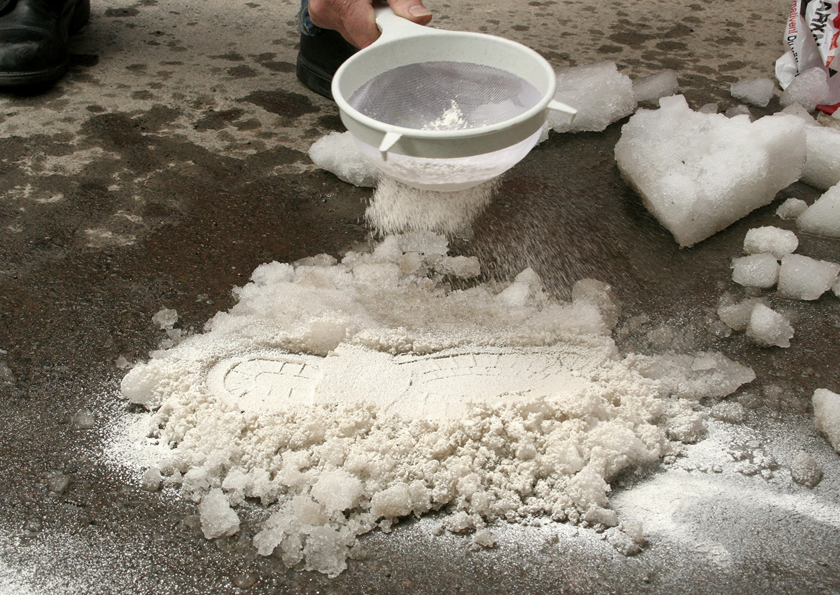

The powder will stack neatly on top of the surface of the impression.
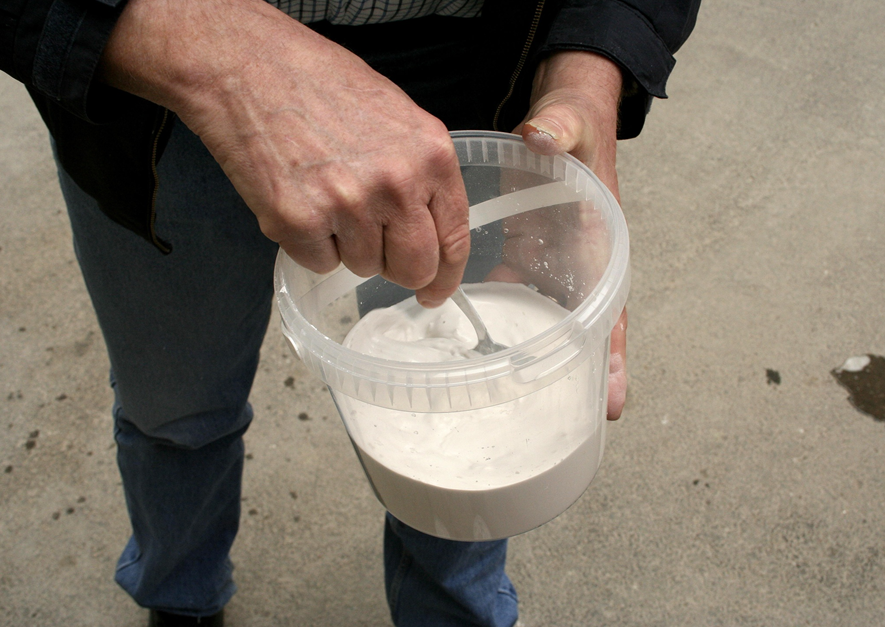
Immediately after sifting, start mixing plaster. Mix the mixture with water according to the instructions on the bucket.
Mixing using a spoon and stir until the mixture starts thickening (45–60 sec)
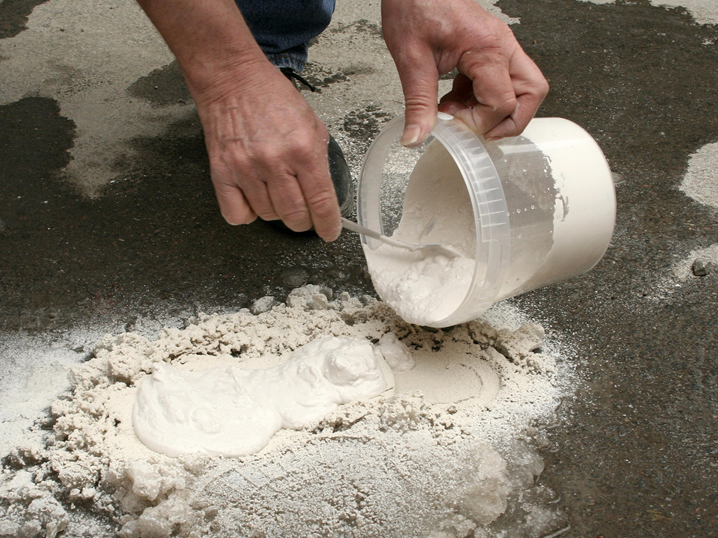
When the mixture starts to set, pour directly into the impression, working time approx. 30 sec. At low temperature, cover the poured plaster with newspaper. The cast can be lifted after 8–10 minutes.
Look what a difference. You can see the impression clearly and now the shoe print is secured.
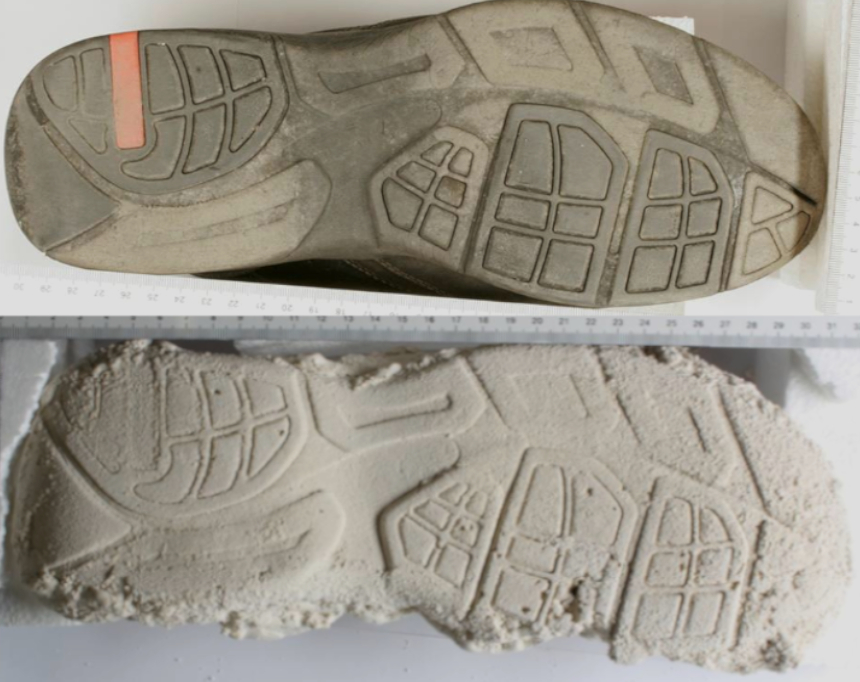
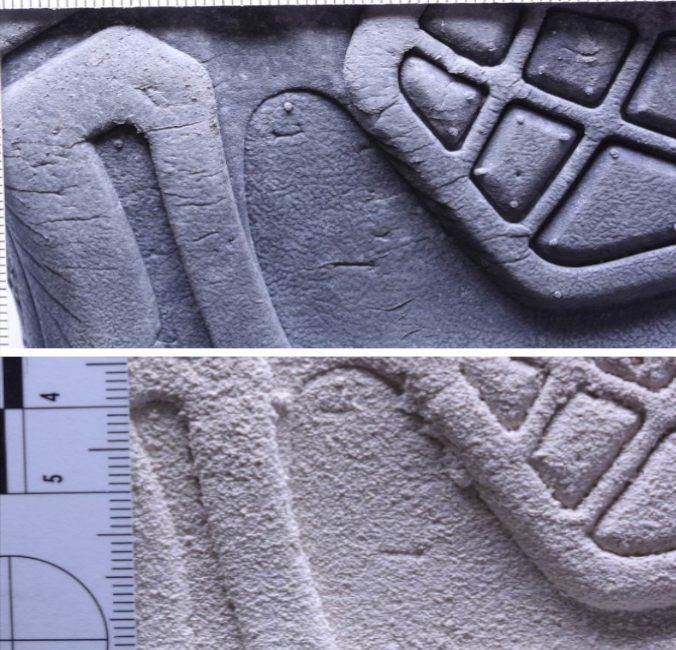
You can see individual marks in the sole correspond to details in the plaster casting.
We also have another product called Snow Print Powder.
If the shoe print is difficult to see in the snow pattern. The Snow Print Powder can help you with these problems that you can apply before creating a casting, and you can take pictures before casting. We will describe that product in the next section.
To Snow Print Powder
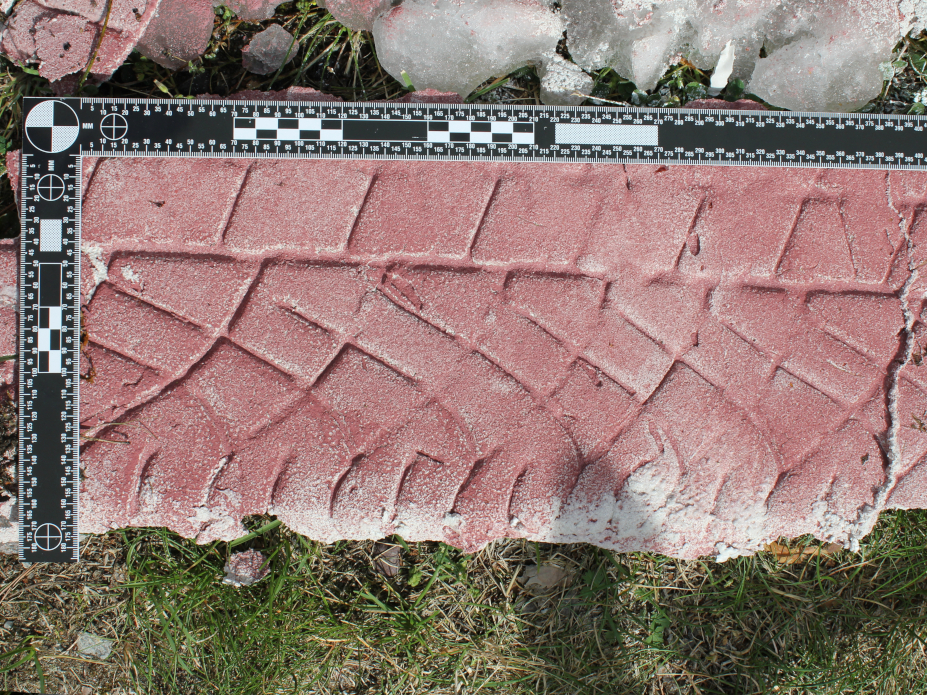
> Creates a casting of tire impressions in wet snow
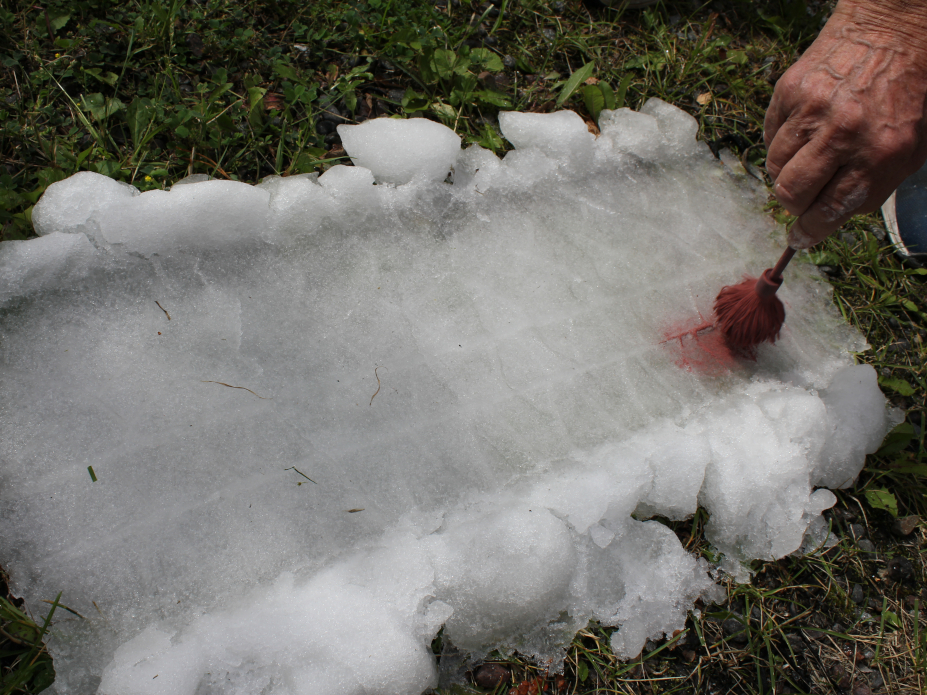
Here we have a car tire impression of a tire that we will brush visibly. The Impression is wet snow. It’s + degrees and the snow has started to melt.
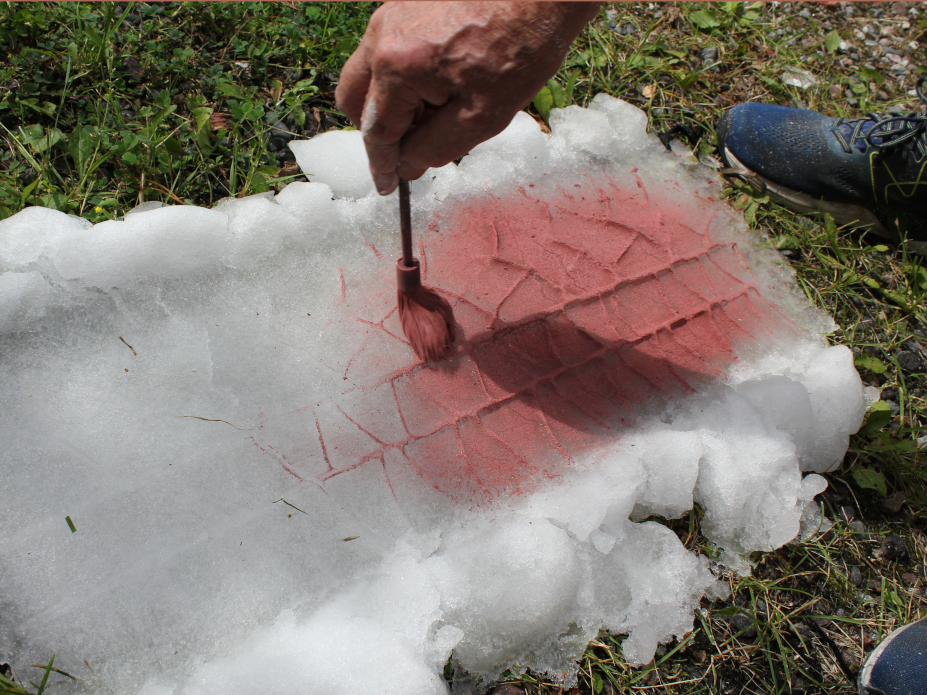
To lift the impression can be easily done. But first we put a thin layer of Snow Print Powder that makes the tire track visible.
The impression, thereby allowing it to be photographed with much better contrast, recovering valuable details.
The powder will stack neatly on top of the surface of the impression. This technique works best on wet melting snow but also provides adequate results on cold frozen snow.
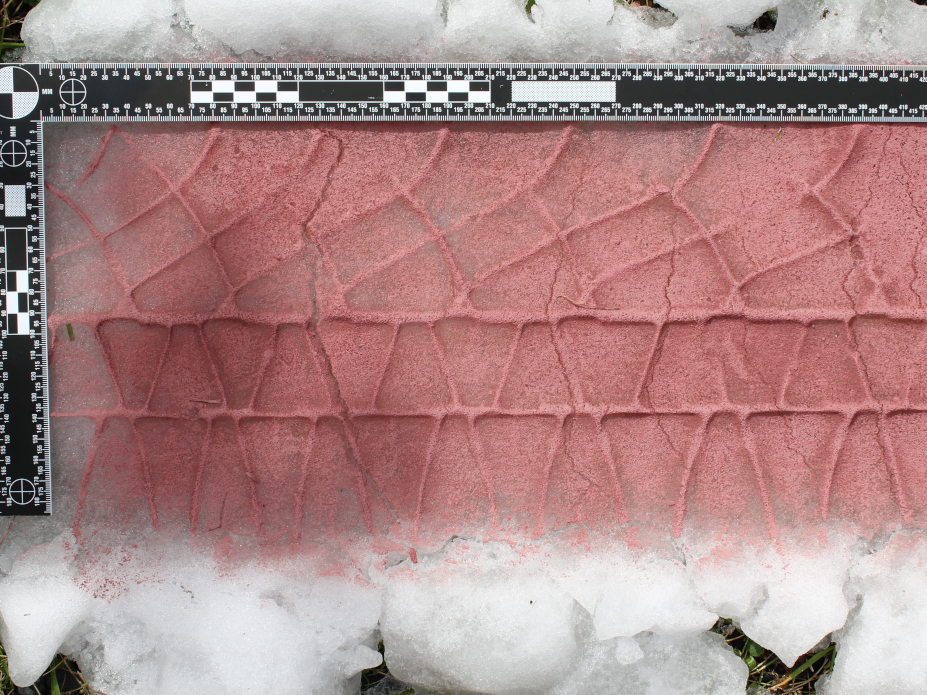
Look what a difference. You can see the impression much more clearly, and now you can take a photograph for evidence before the casting.
To lifting the impression can be easily done. First you need to put a thin layer of dry Snow Print Plaster powder on the impression that if you don’t, you won’t get a good result.
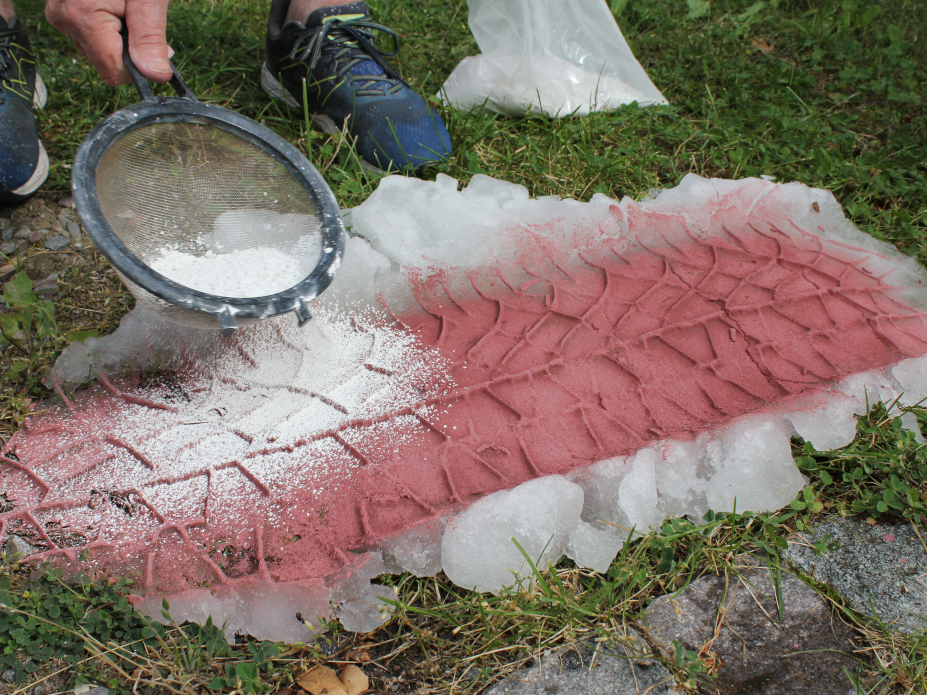
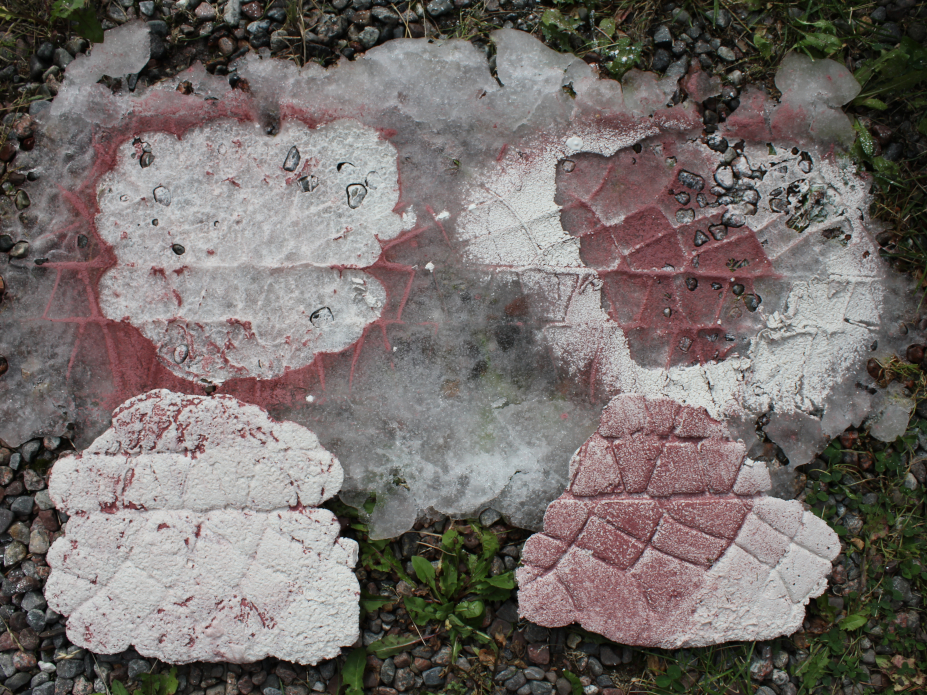
Here we show an example of an impression. On the left side, we apply Snow Plaster Powder on the impression but without putting on a thin layer of dry Snow Print Plaster.
On the right side, we apply Snow Plaster Powder and Snow Print Plaster on the impression.
There will be a big difference in the quality of the print, as you can see.
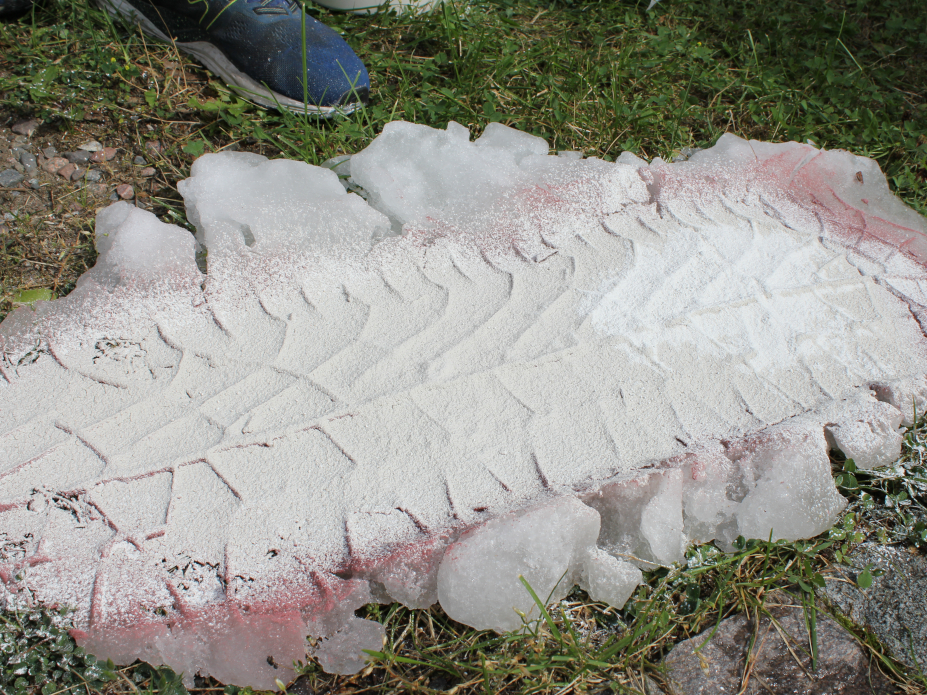
Now we have the entire surface covered with a thin layer of dry Snow Print Plaster on the impression.
Immediately after sifting, start mixing the plaster.
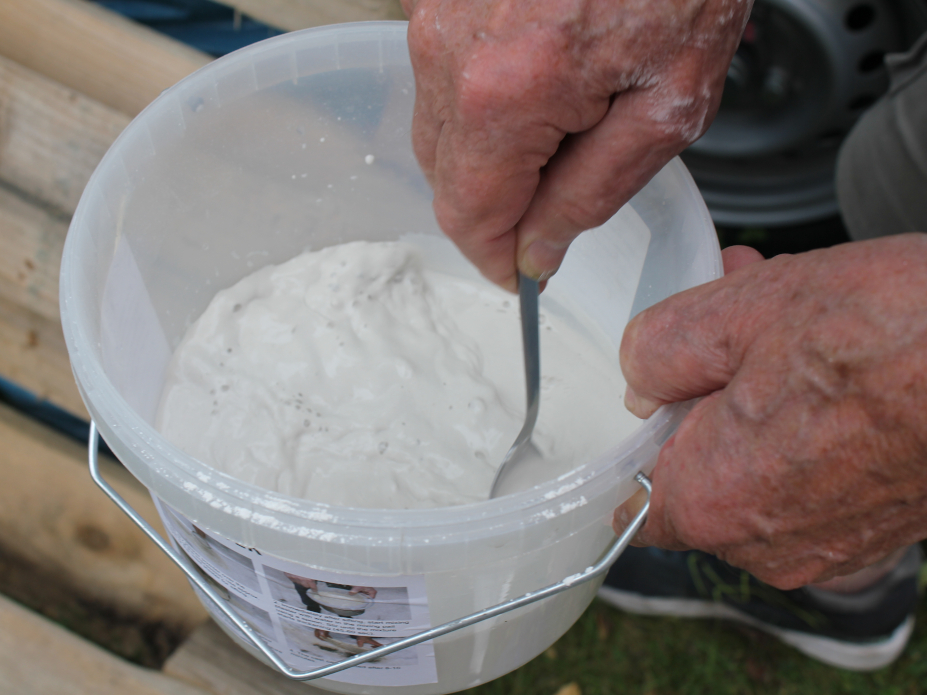
Mix the mixture with water according to the instructions on the bucket.
When the mixture starts to set, pour directly into the impression, working time approx. 30 sec.
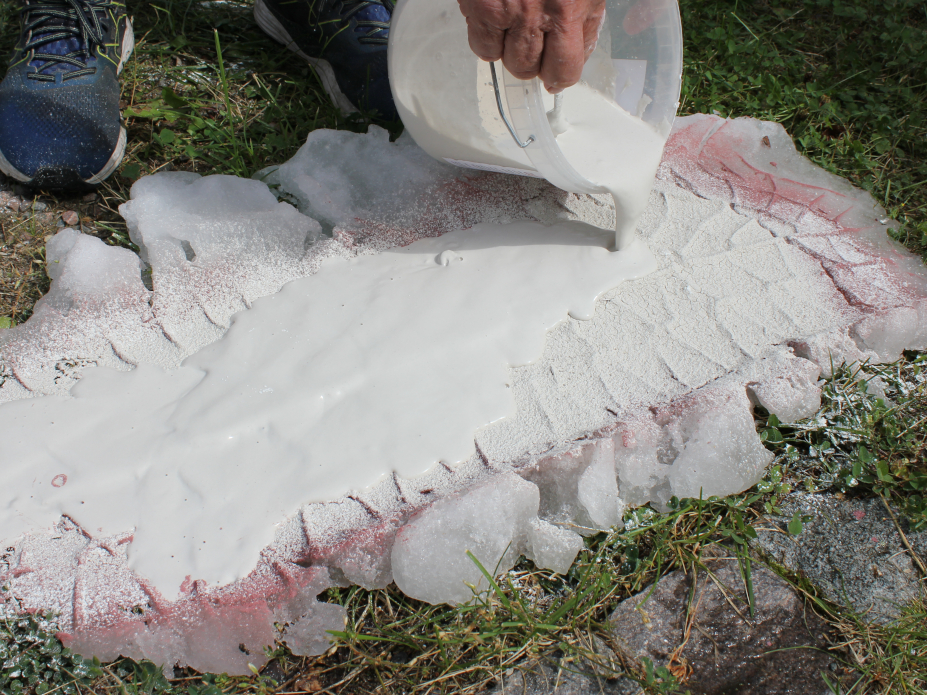
Pour over the Snow Print Plaster mixture on the car tire impression.
At low temperature, cover the poured plaster with newspaper. The cast can be lifted after 8–10 minutes.
Here is the result of the cast after about 8 to 10 minutes.