> MIKROSILTM Learning
> MIKROSILTM
Multipurpose Casting Agent
Use MIKROSIL on
Fingerprints
– Lift CNA-developed prints
– Lift fingerprints in blood
– Identify cadavers
Shoeprints
– Lift shoeprints in blood
– Lift brushed shoeprints
Toolmarks
– Double cast toolmarks
– Smudging
– µm toolmarks
> Lift brushed shoeprints
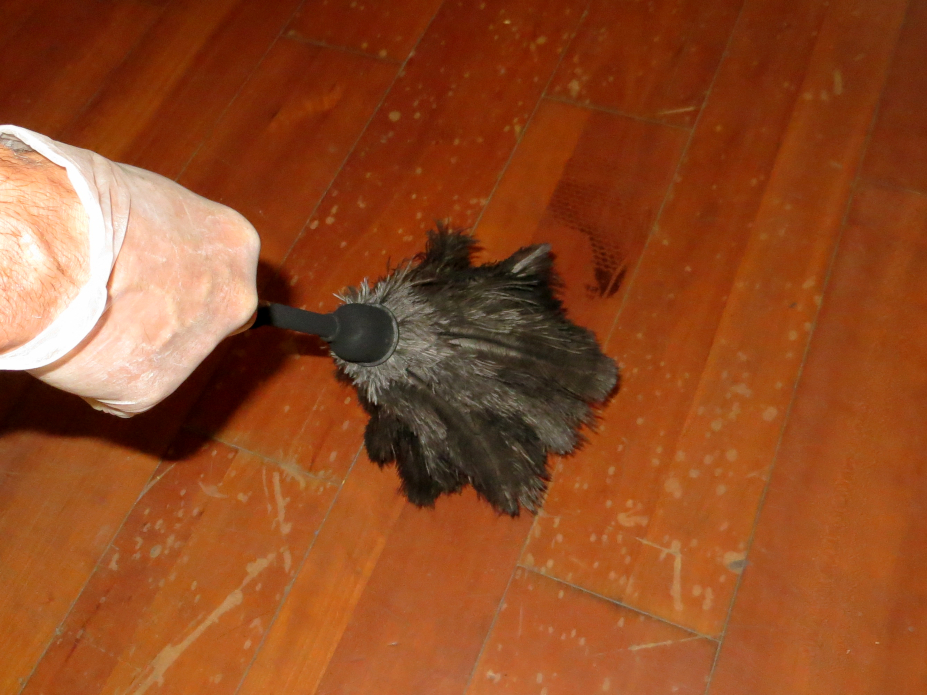
To start, gently apply the powder to the floor to develop a latent impression by sweeping the brush in a back and forth motion. This allows the brush to touch the top of the floor slightly.
After developing a latent impression, remove the excess powder by blowing on the surface. Photography as a safety precaution in case evidence is lost during the recovery stage.
To save shoe prints, start by cutting out silicon paper for the footprint size.
The paper must overlap the entire shoe impression.

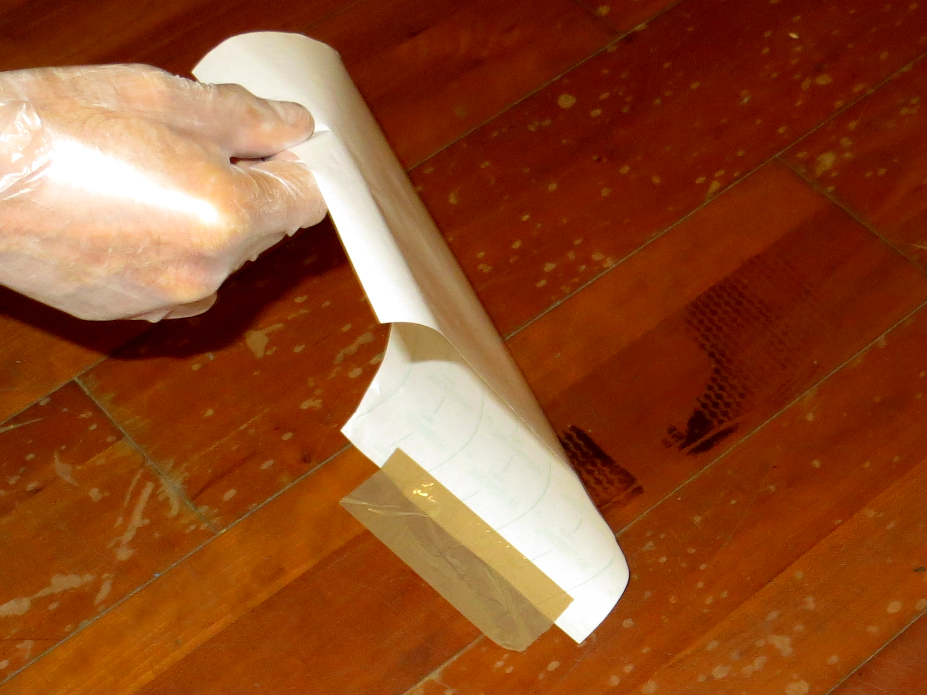
Tape the silicon paper to one side and attach it to the floor next to the footprint so, the paper can lie still.
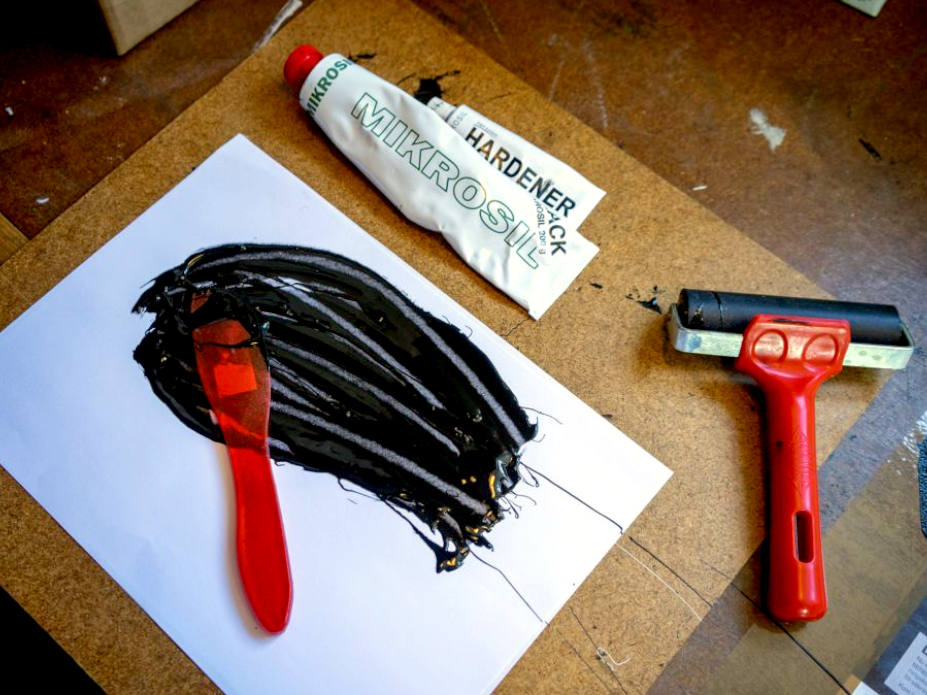
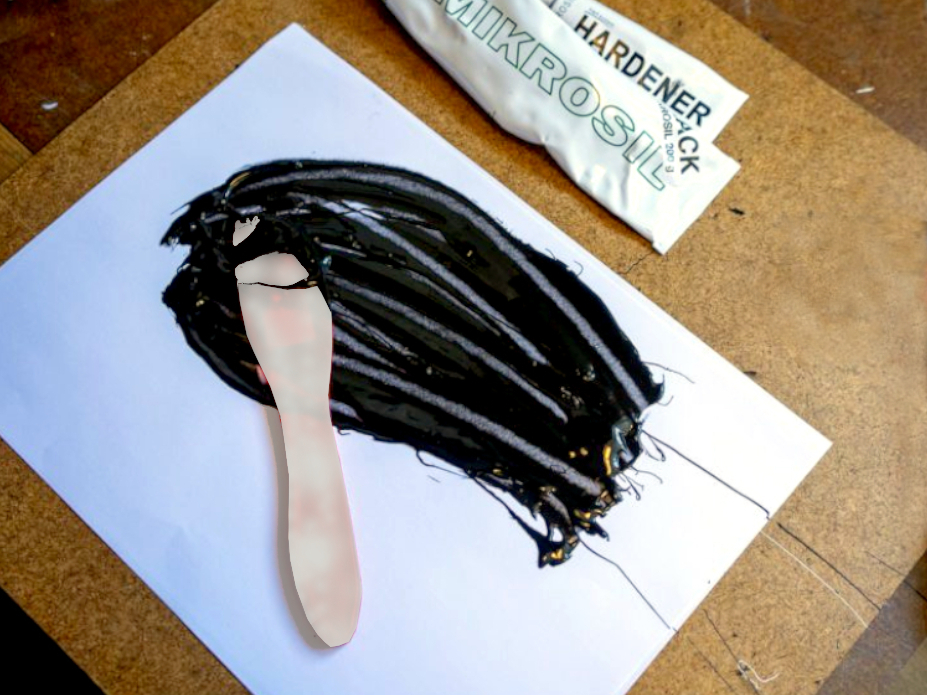
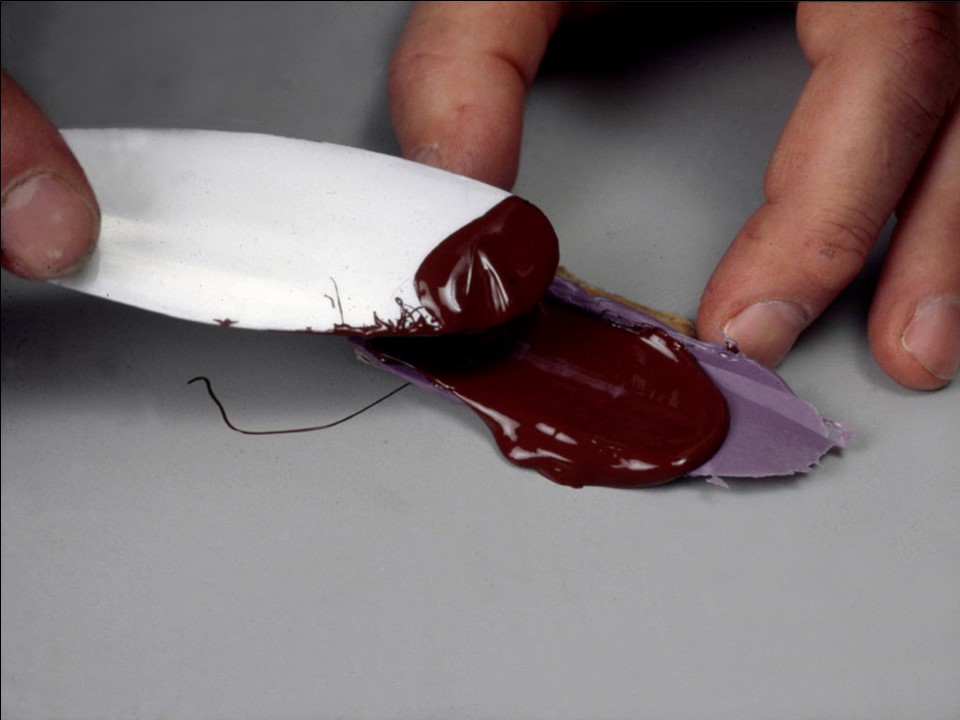
Mix the base material and hardener quickly until a uniform color results.
Limit mixing time to 20-30 sec.

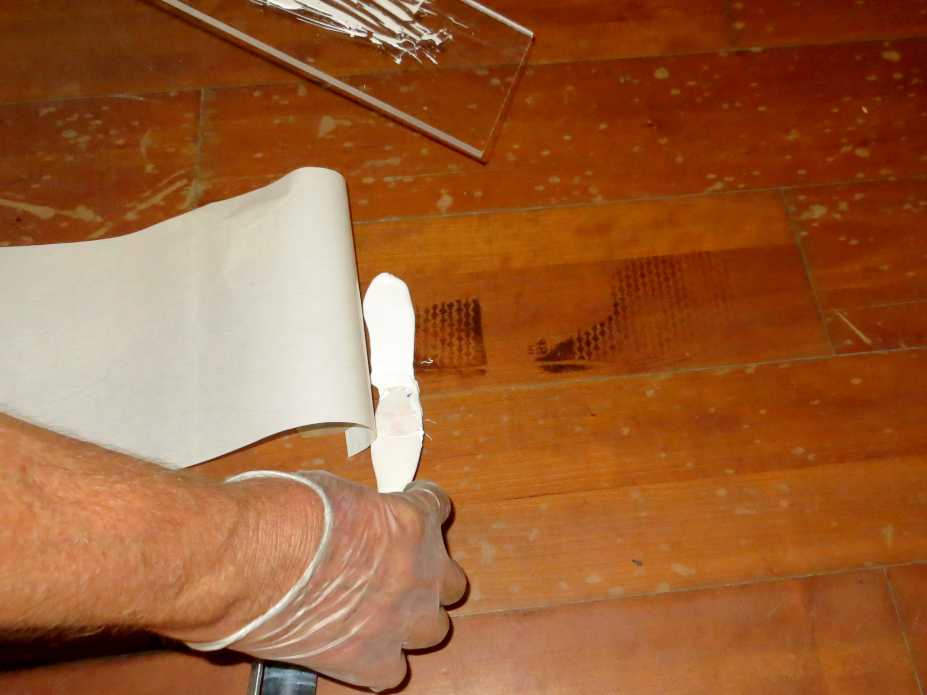
Apply the mixture on the floor behind the footprint.
Lay out the silicone paper over the mixture and use a rolling pin.
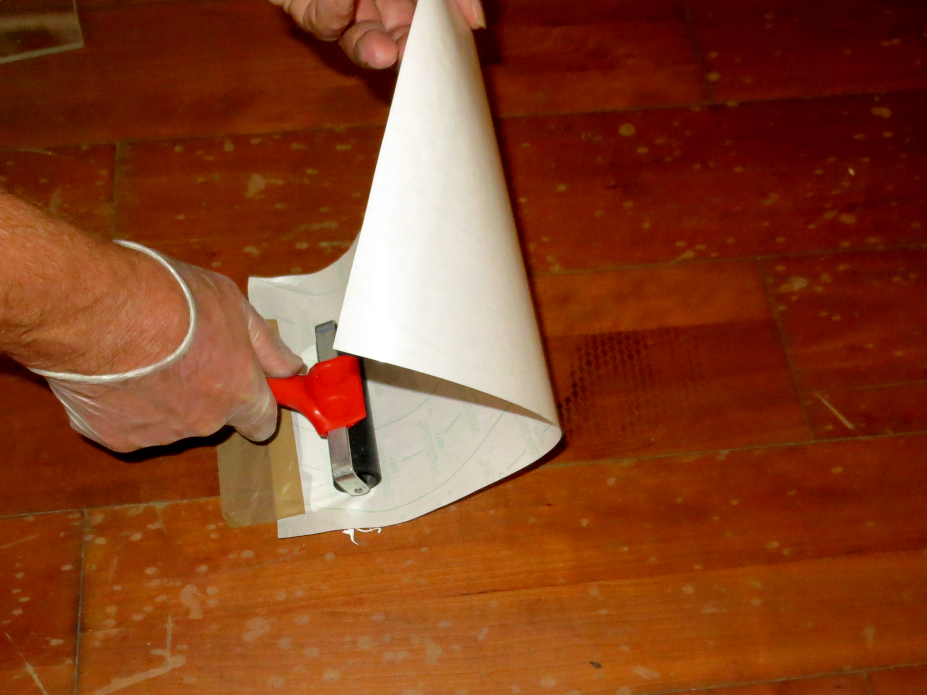
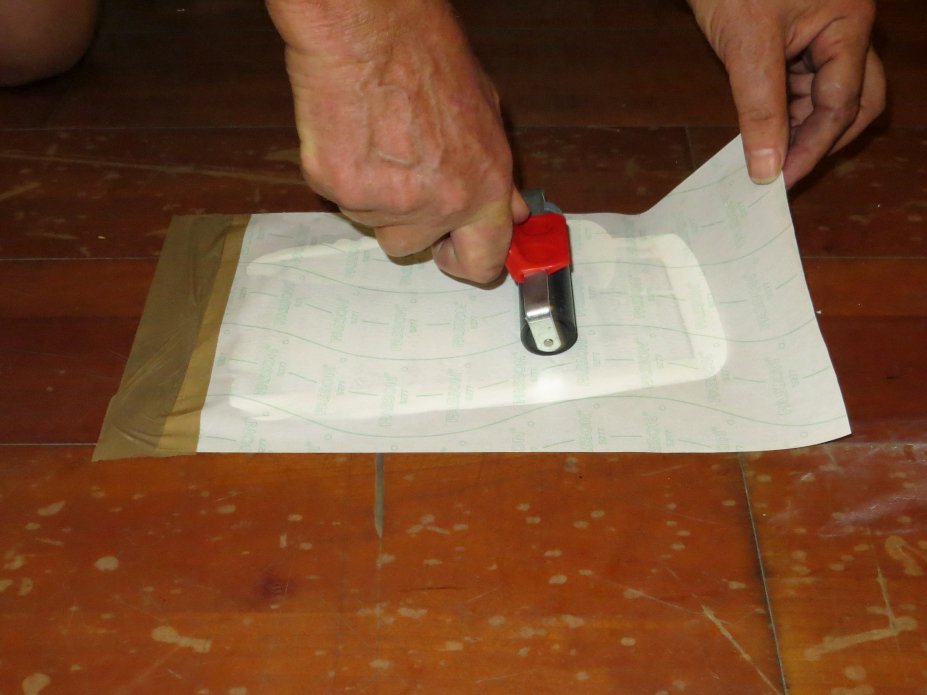
Continue to roll out the mixture as evenly as possible to get a smooth surface without air bubbles over the entire footprint.
Let it harden for 10 to 15 minutes. Be patient. It is better to wait a little longer.
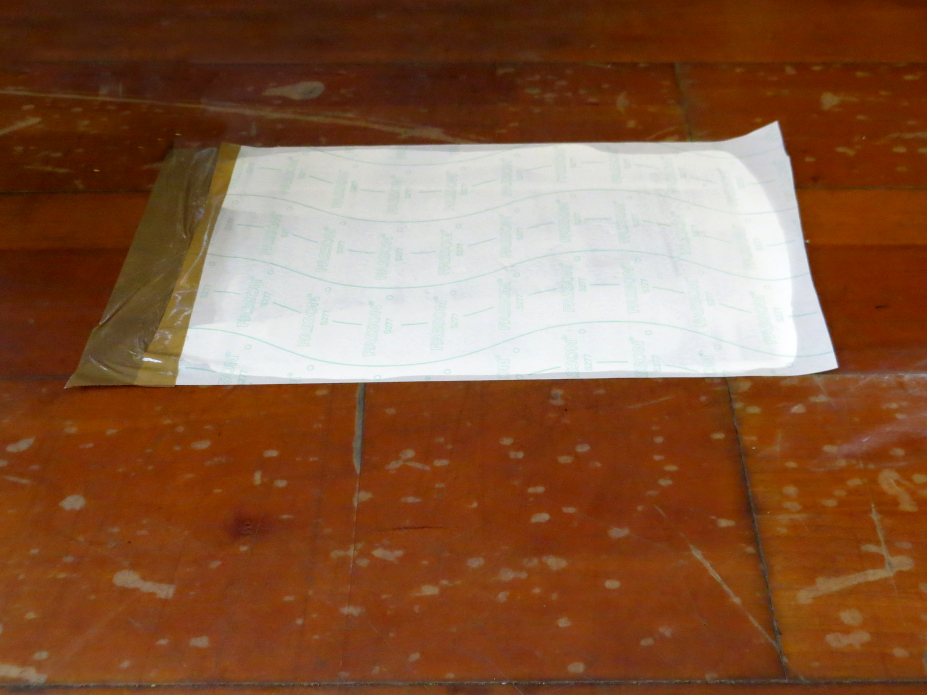
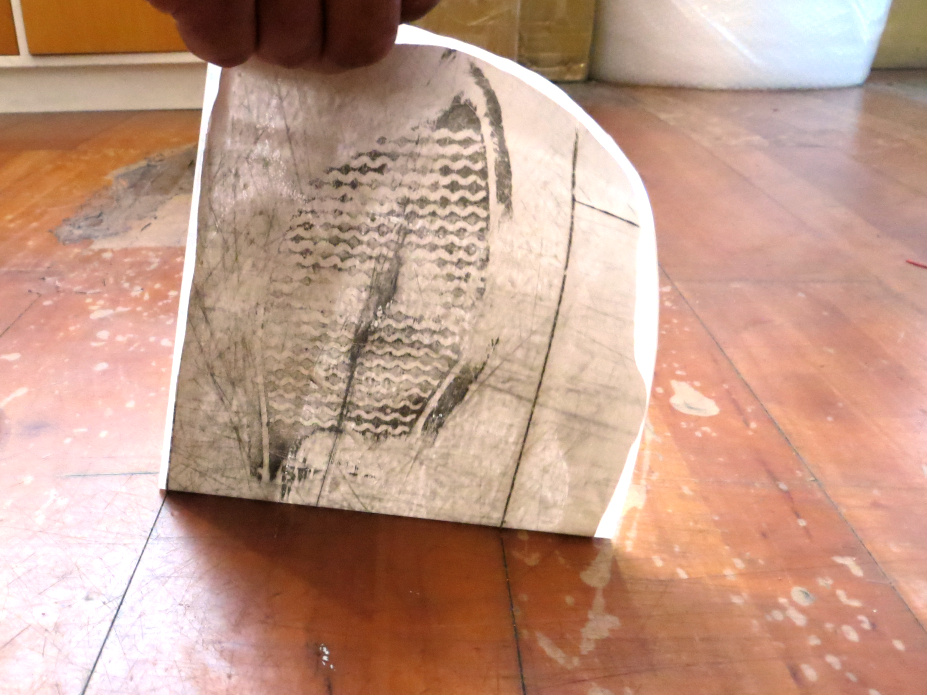
Now just grab the silicon paper and pull it off from the floor and the footprint is stuck in the Mikrosil mixture.
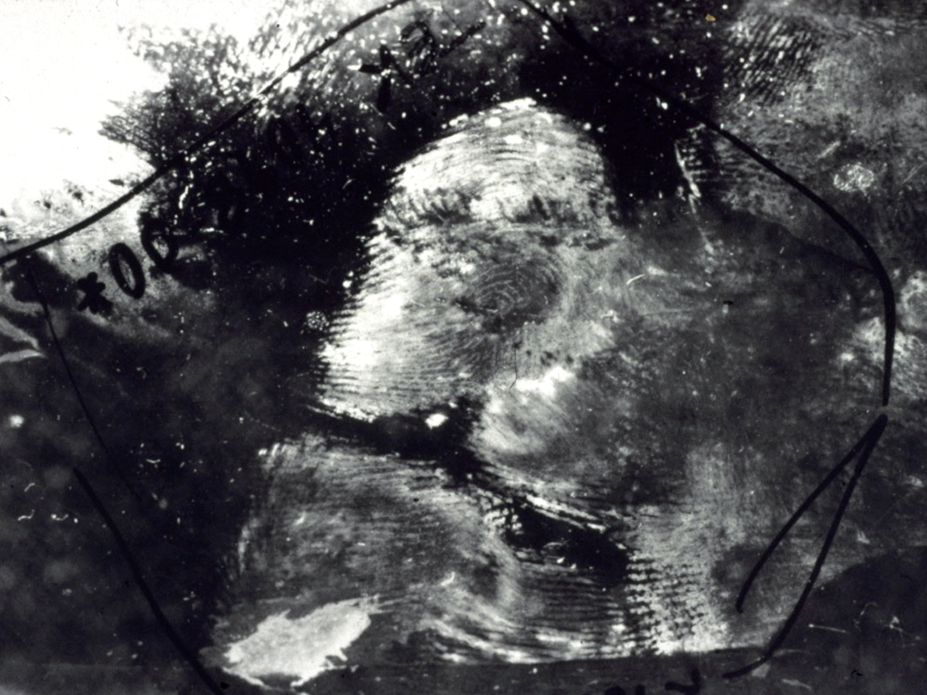
> Lift fingerprints
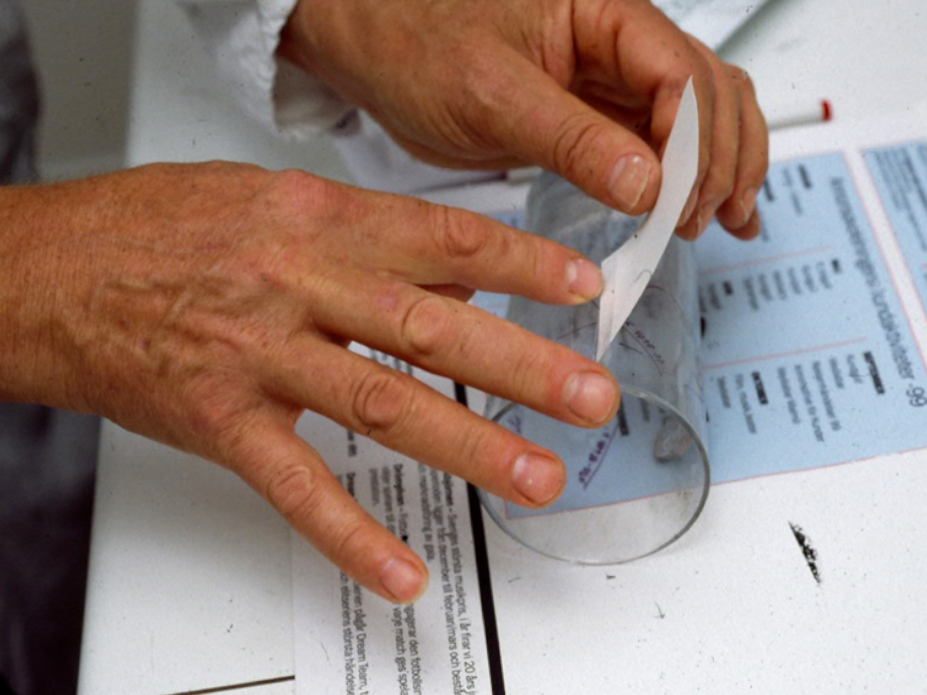
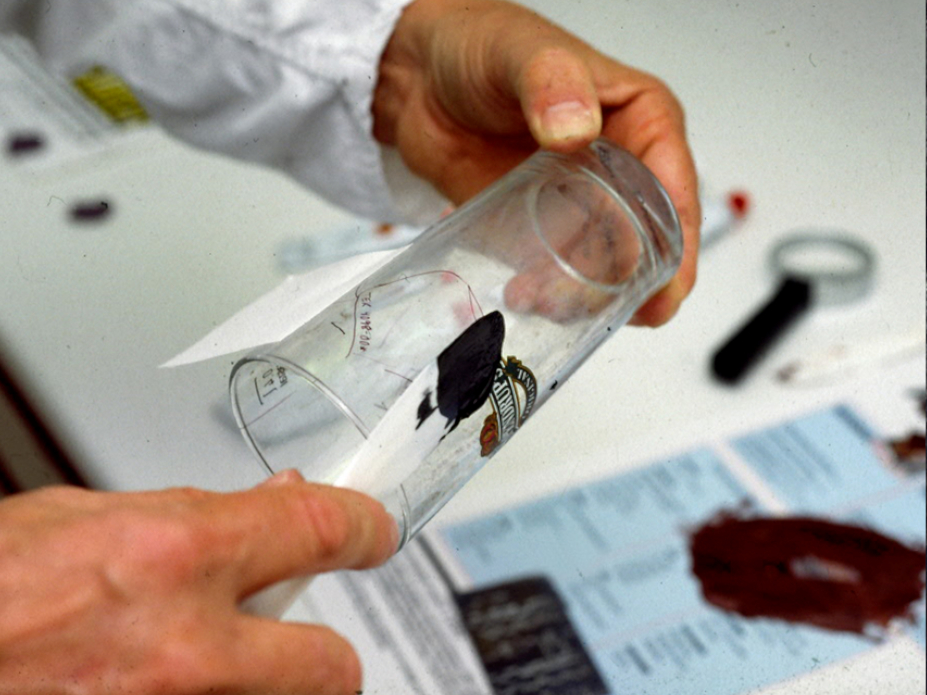
We have a fingerprint on a glass that we have carefully developed by applying powder to the glass with a brush.
Tape the silicon paper to one side and attach it to the glass next to the fingerprint, so that paper can lie still.
Mix the base material and hardener quickly until a uniform color results. Limit mixing time to 20-30 sec.
Apply the Mikrosil mixture to the fingerprint that sits on the glass.

Roll the silicon paper over the mixture as evenly as possible over the glass and fingerprint without air bubbles.
Let it harden for 10 to 15 minutes.


Now, after 15 minutes, just grab the silicon paper and pull it off from the glass and the fingerprint are stuck in the Mikrosil mixture.
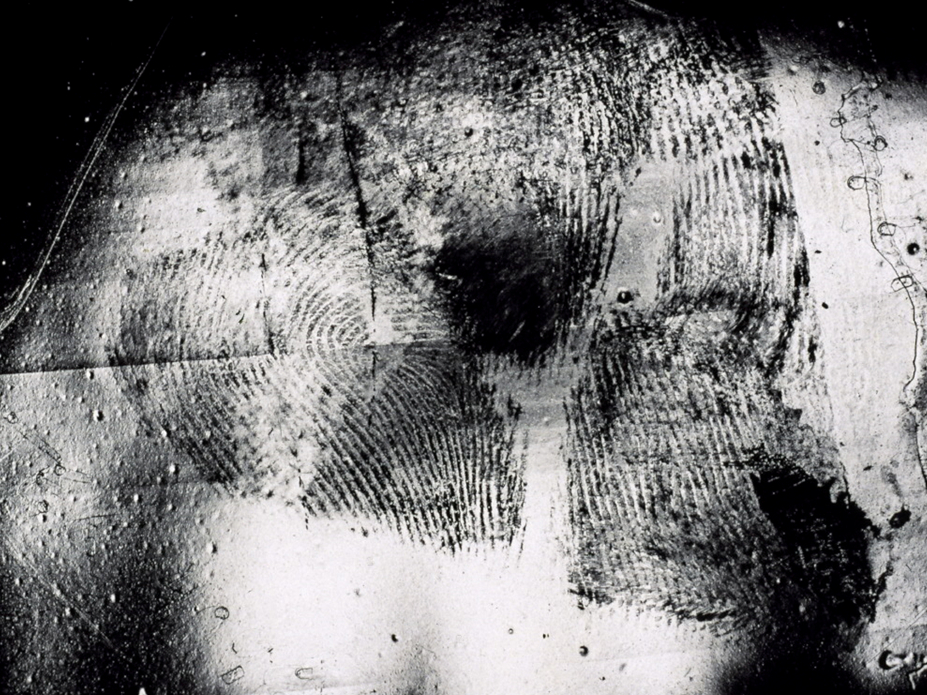
Here is the result of the fingerprint and that is photographed with a polarisation filter.
> Tool marks. Cast of knife blades holes
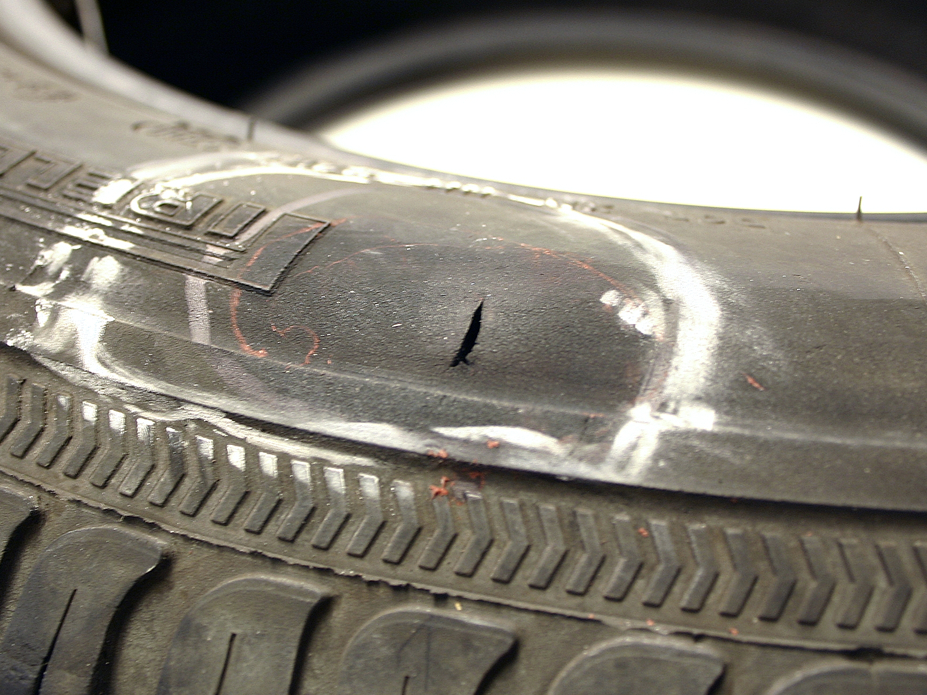
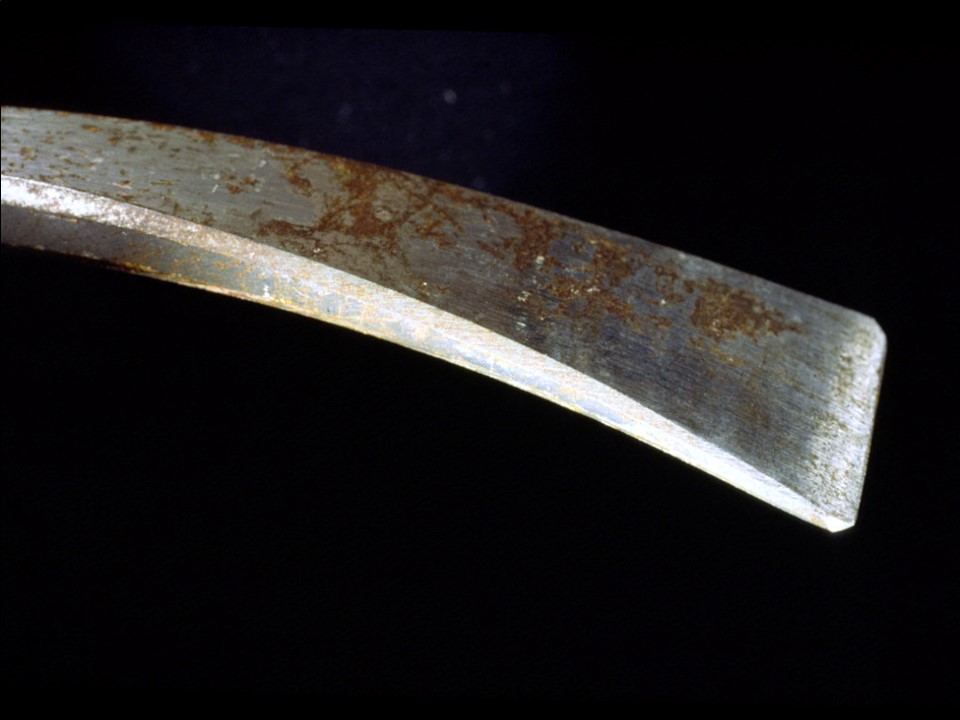
Here we have a hole where a knife has punctured a tire and we have the suspect knife with which we will compare.
We want to see if a seized knife was used to create that hole in the tire. So we made another hole with the suspect knife to compare these two holes.
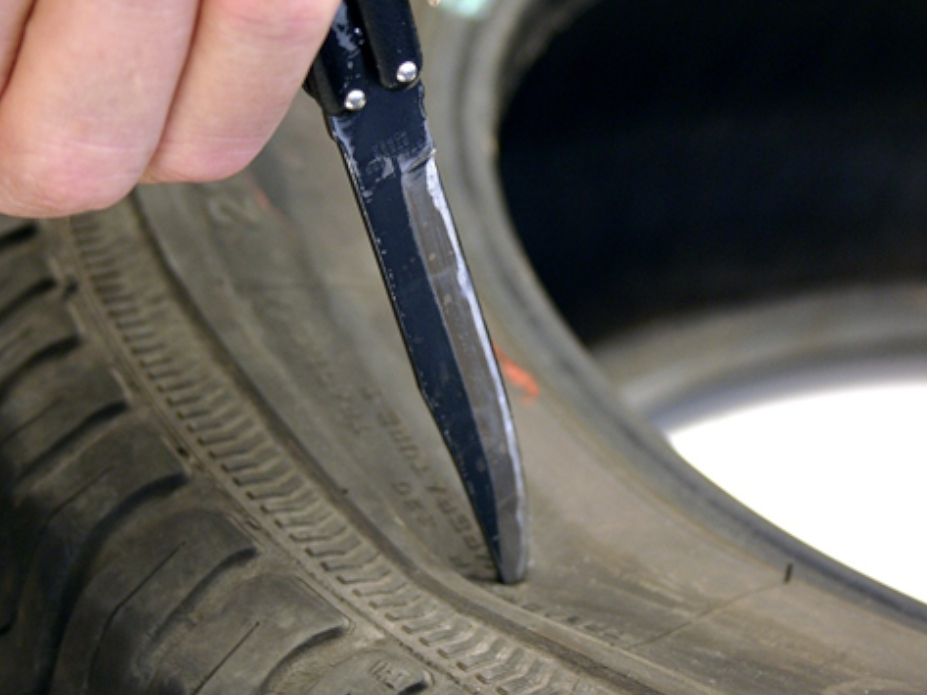
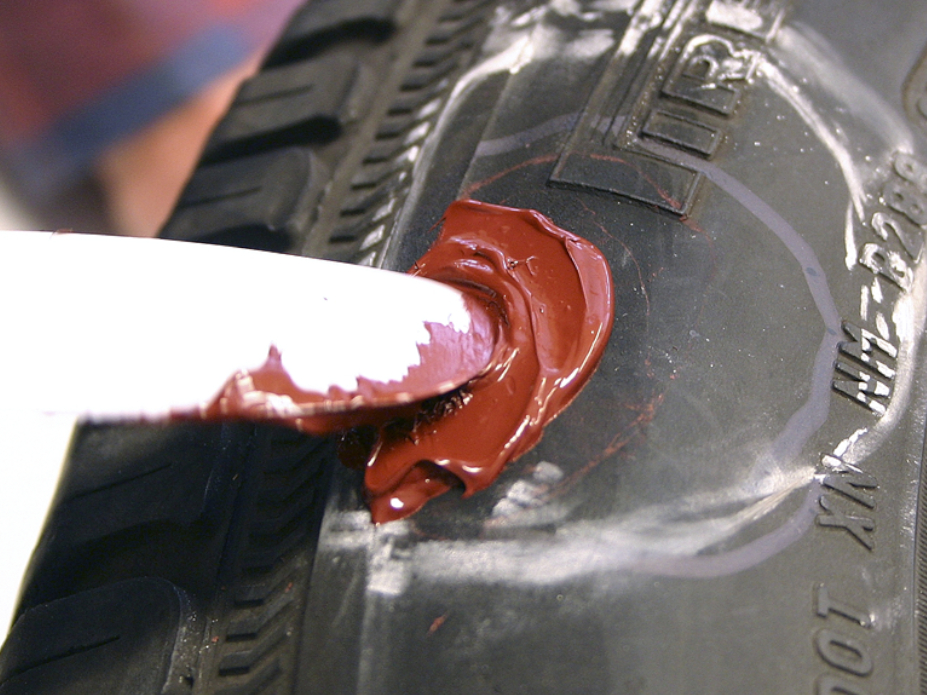
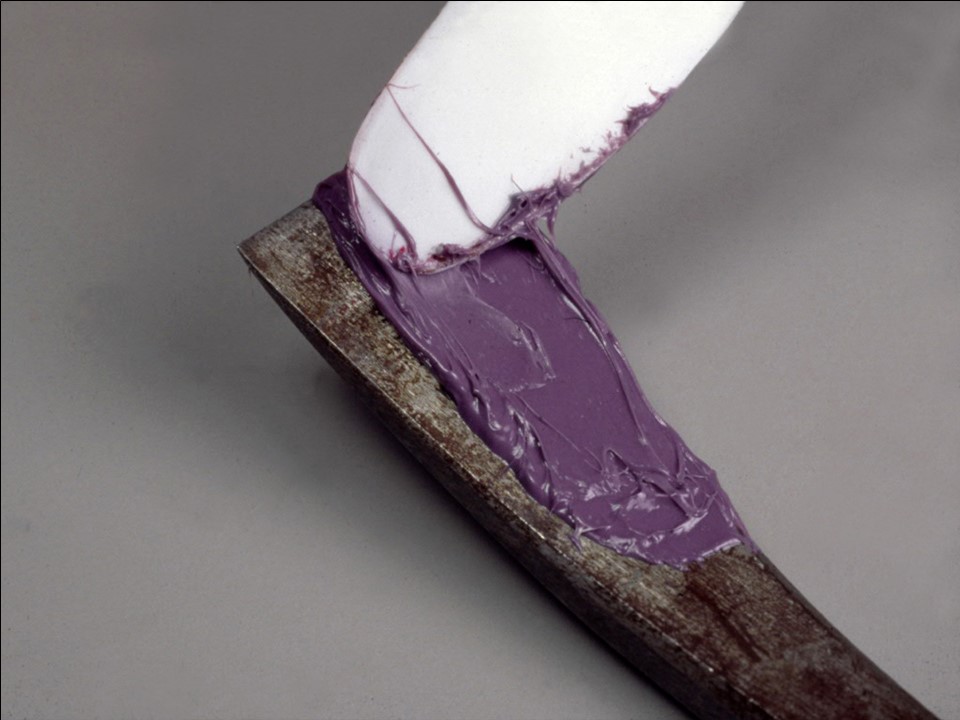
Mix together the Mikrosile and the hardener. Apply the mixture to the tire, the mixture should go through the hole. Do the same with the new holes created by the suspect knife.
After 10-15 minutes, remove the two castings from the tire.
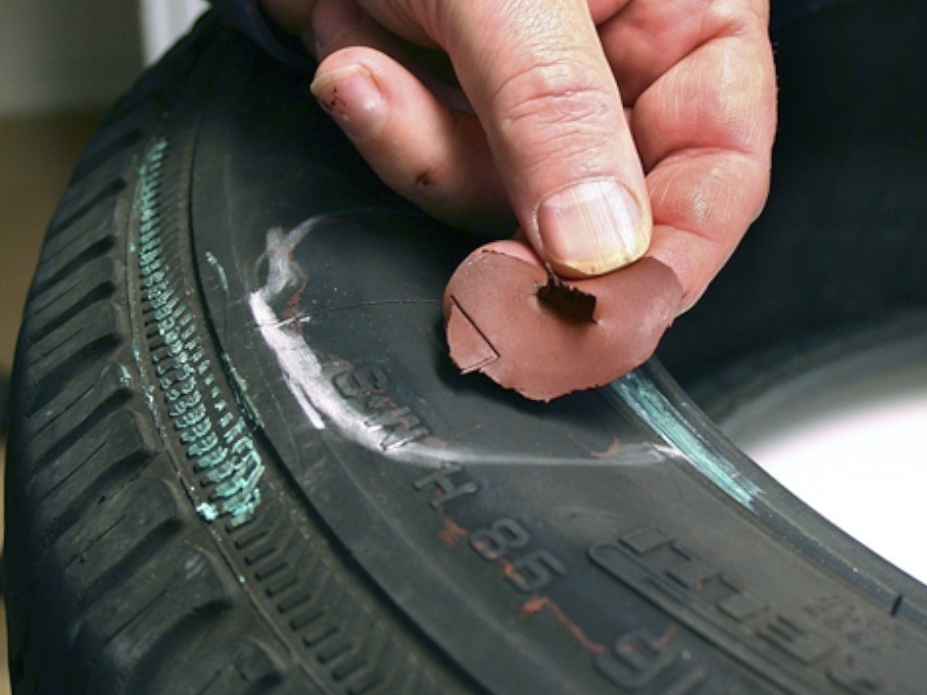

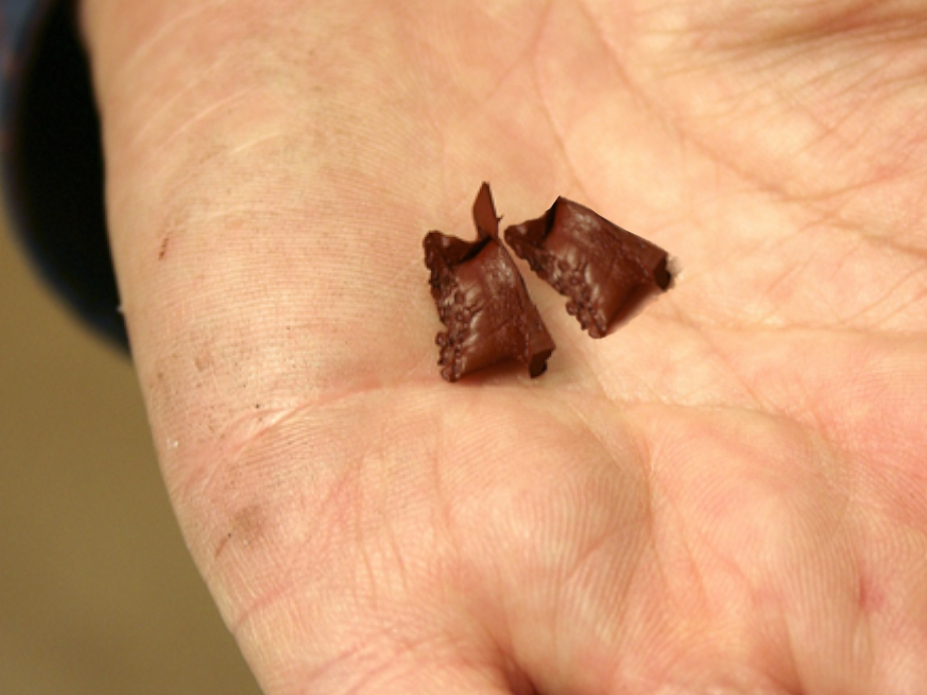
Cut out the casting with scissors as shown in the picture.
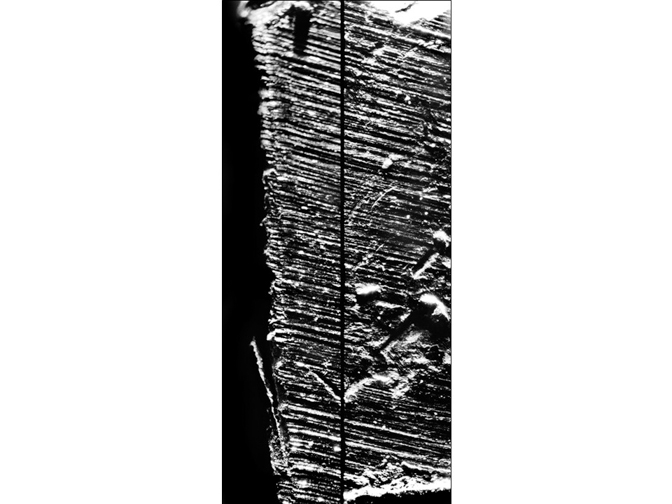
Now we have two castings that we can compare with if it is the same knife that made that hole in the tire, and we do that under a comparison microscope.
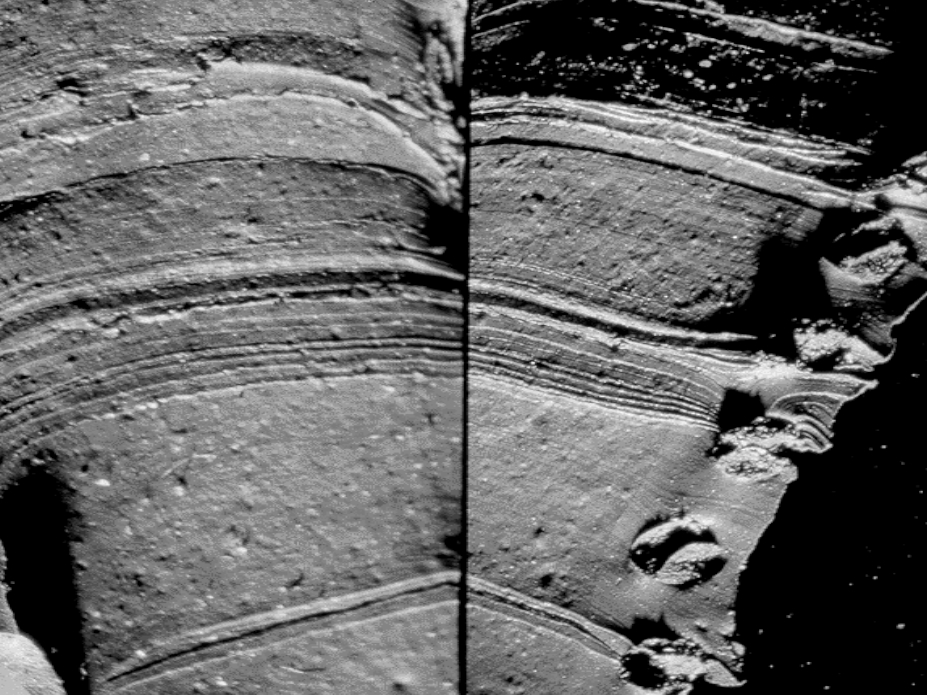
Here you can now see clearly when comparing two castings in the microscope that it is the same knife that made the hole in the tire.
> Toolmark Methods
What are striation, impression and reference marks?
This short introduction to the toolmark examination covers the most basic elements. Toolmarks are very common evidence at crime scenes.
When a door is forced open by a screwdriver or a crowbar, high quality marks are often left behind and can help the investigator identify the tool that was used.
To investigate whether a screwdriver has been used at the crime scene, we create reference marks using the suspect’s tool.
We have already made a casting with MIKROSIL at the crime scene of a break mark that we will make a comparison with the suspect screwdriver.
Reference striation marks can be made with lead plates, but our preferred alternative is to use a wax plate. Most often, wax plates reproduce microscopic details with higher quality.
Create a reference mark on a wax plate with a screwdriver that we will cast with MIKROSIL and compare under a microscope with the tool mark from the crime scene.
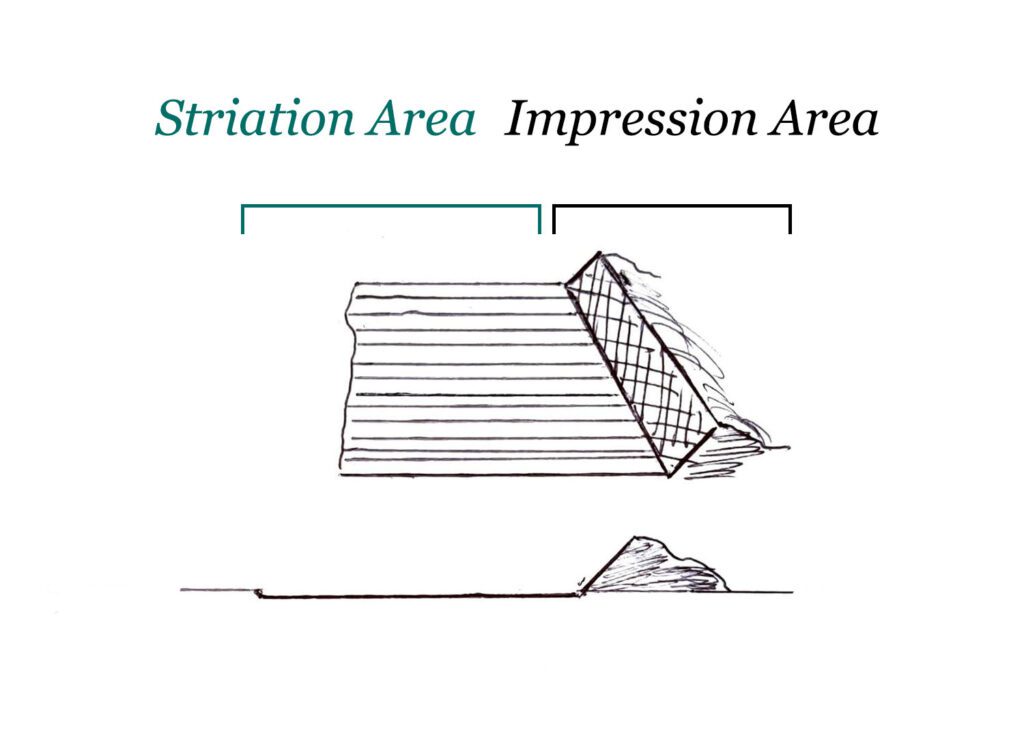
There are two types of tool marks which are valuable when establishing an identity: striation and impression marks.
Over time, the contact area of tools like screwdrivers, knives or crowbars is worn down by friction, creating a unique pattern on the surface of tools.
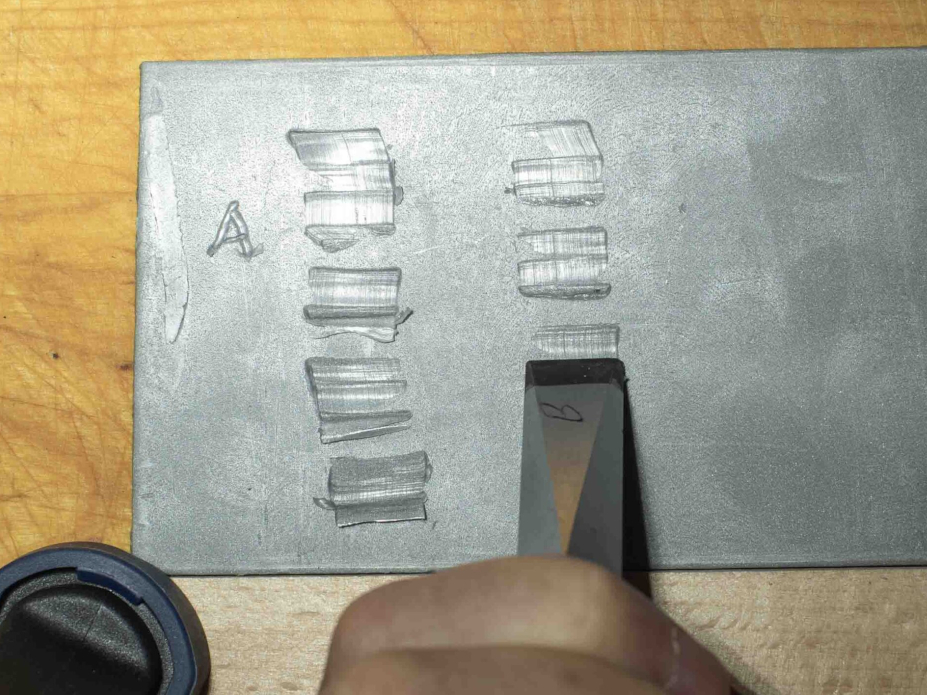
Mix together the Mikrosil and the hardener. Apply the mixture to the wax plates without air bubbles and let it harden for 10 to 15 minutes.

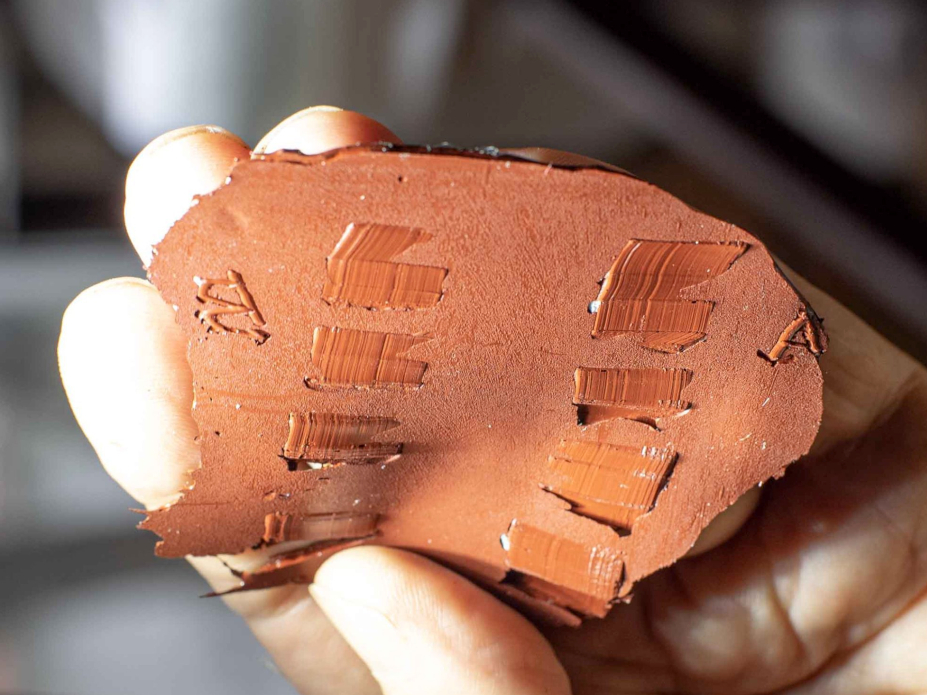
Here is the reference mark from the wax plate that was cast by on the MIKROSIL, and now we can compare it under a microscope with the tool mark from the crime scene.
Here you can now clearly see, in comparison with a microscope from the two castings, that it is the same screwdriver that made an impression on the crime scene.
>Double cast toolmarks
Establishing an identity from impression marks. To investigate whether a crowbar has been used at the crime scene, we create reference marks using the suspect’s tool.
We have already made a casting with MIKROSIL at the crime scene of a break mark that we will make a comparison with the suspect crowbar.
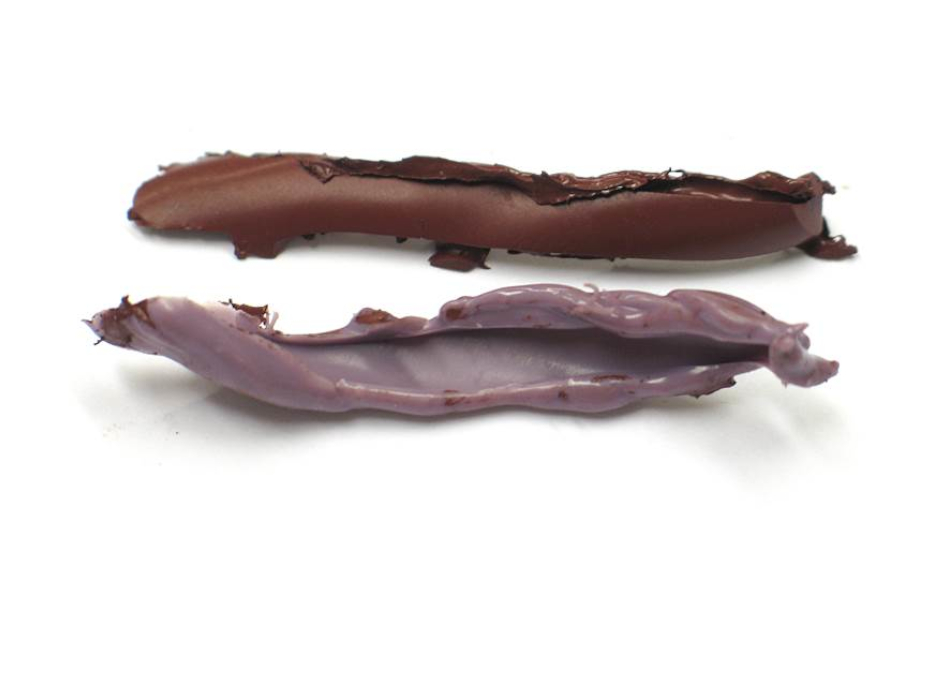
First, cast the interesting surface areas of the tool with SP Impgregum.
When using the SP Impregum for the first casting, the second casting can only be made with a Type C silicone, like Mikrosile.
Apply the SP Impregum and let it harden and, after that, remove the castings from the crowbar.
Mix together the Mikrosile and the hardener. Apply the mixture to the SP Impregum and let it harden for 10 to 15 minutes.
After that, remove the Mikrosile castings from the SP Impregum.
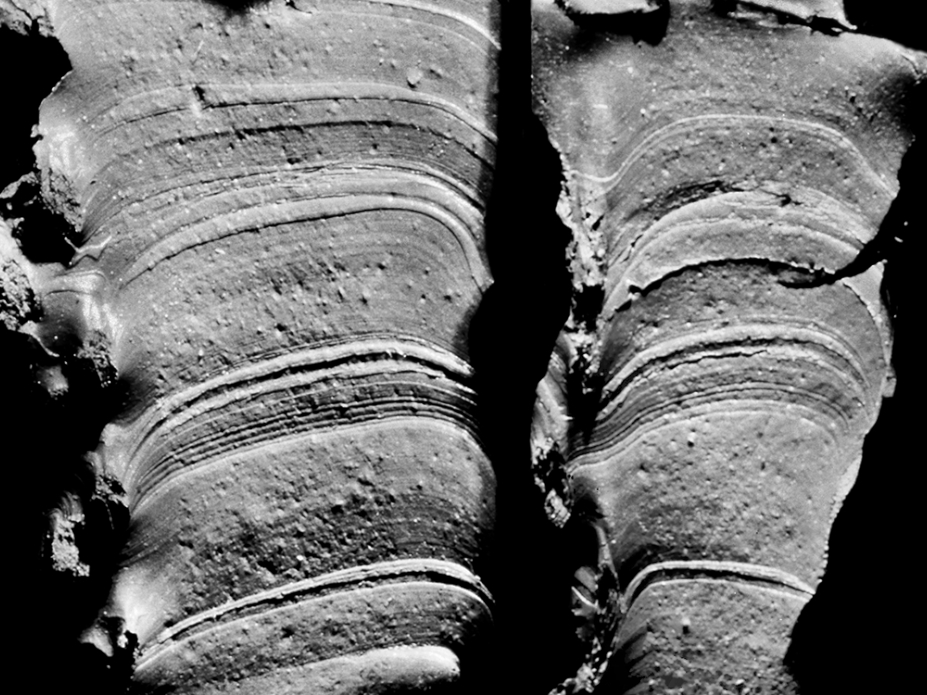
Now we can compare double castings from the crowbar, and we compare that with the tool mark from the crime scene.
Here you can now clearly see in a comparison microscope from the double cast toolmarks and that it is the same crowbar that made an impression at the crime scene.
The tracks on the left are break marks from the crime scene and on the right are the double cast of the break end of the crowbar.

>Double cast of drill
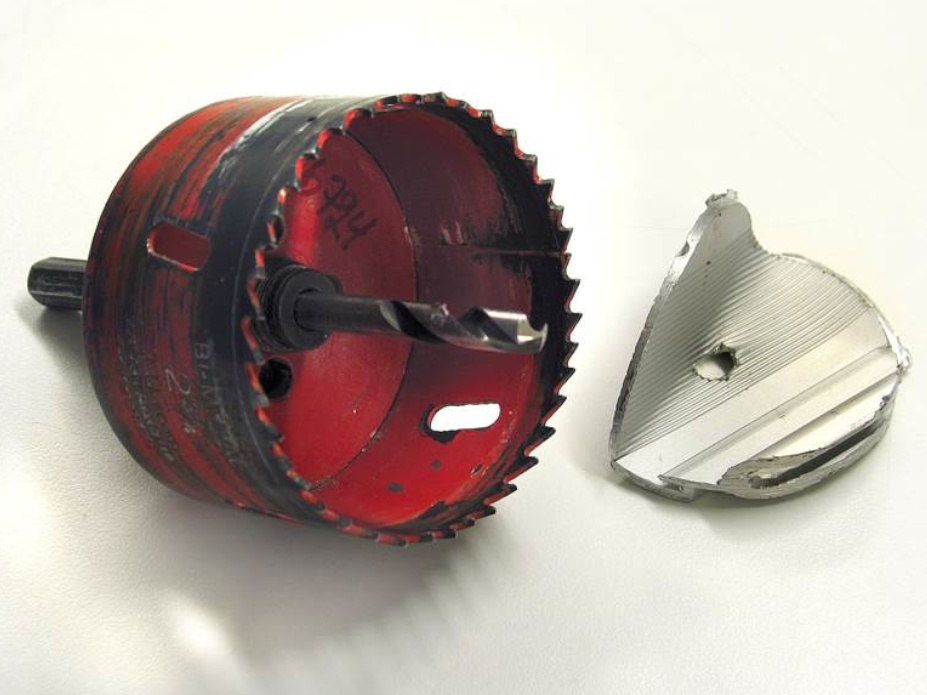
To investigate whether a drill has been used at the crime scene, In this case, a circular saw with a drill at the center was examined to see whether it had been used on the metal security box.
We double cast the suspect drill and applied Mikrosile mixture on to the drilling hole.
To establish an identity from drilling marks.
It can be done with the hole at the crime scene where you can find marks in the material that you can compare with the drill.
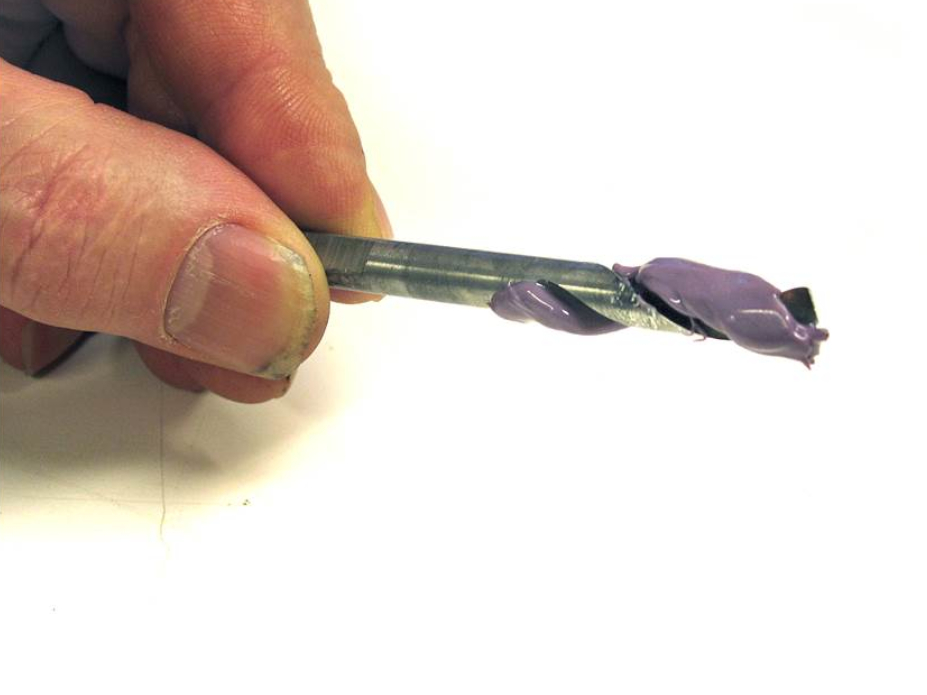
First, cast the interesting surface areas of the drill with SP Impgregum.
When using SP Impregum for the first casting, the second casting can only be made with a Type C silicone, like Mikrosile. Apply the SP Impregum and let it harden.
After a while, when they have solidified, remove the SP Impregum from the drill.

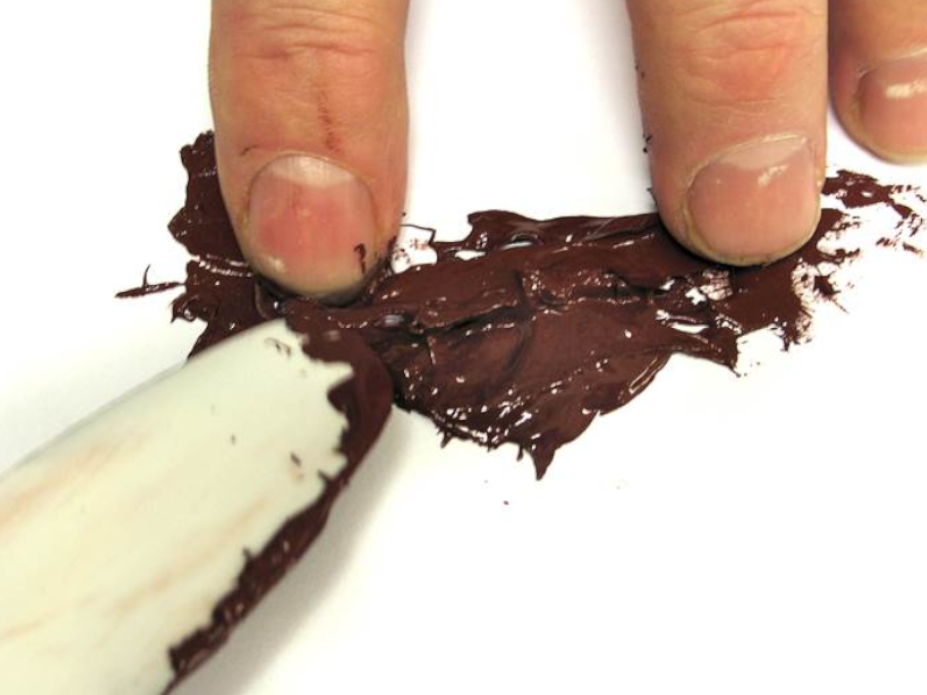
Mix together the Mikrosile and the hardener.
Apply the Mikrosile mixture to the SP Impregum in drill sida and let it harden for 10 to 15 minutes.
Next apply the Mikrosile in to the hoole and Let it harden 10 to 15 minutes and remove from the drill hole.

After 10 to 15 minutes, when they have solidified, remove the SP Impregum from the Mikrosil.
Here you can now see a double casting of the drill.
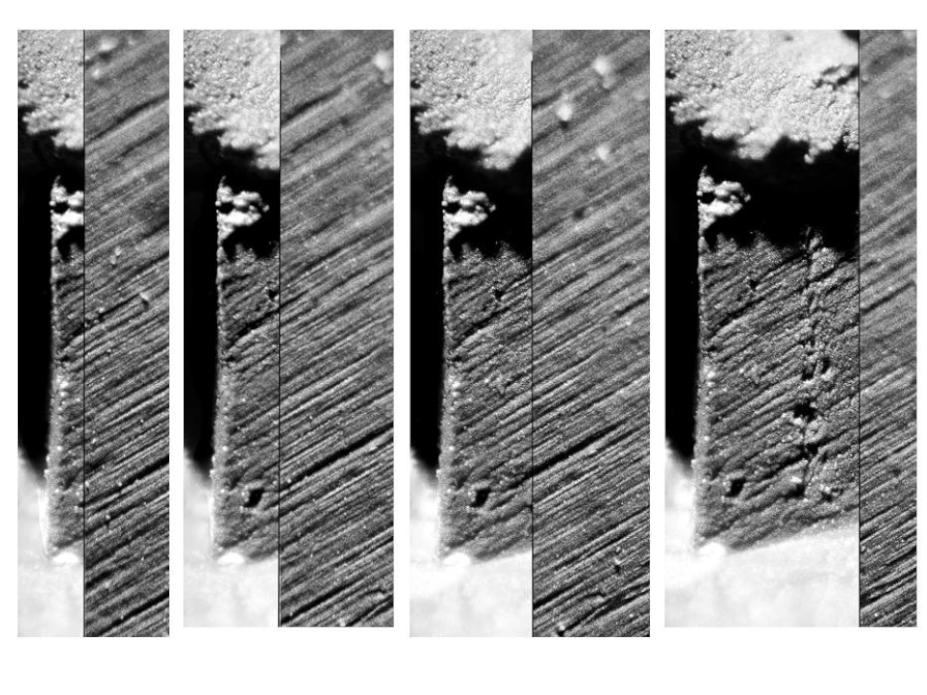
Now we can compare the drill casting and the drilling hole casting with the comparison microscope.
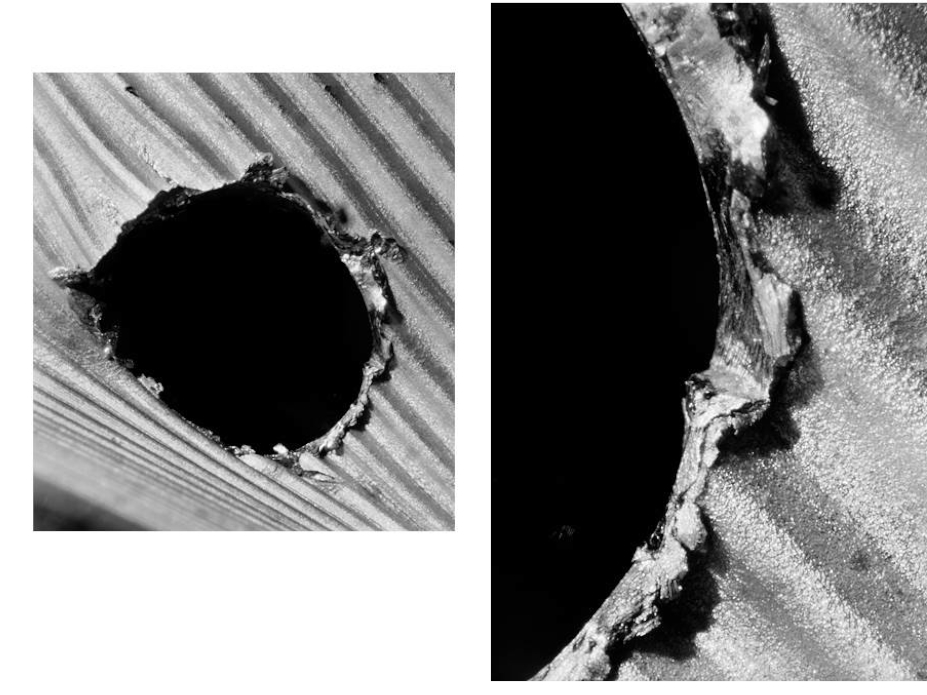
Here you can now clearly see with a comparison microscope from the double cast of drill and the hole that made impression from the crime scene.
The casting showed a small impression mark at the point where significant force had been applied to bend open the box. The size of this mark was roughly 0.3 x 0.5 mm.
The superimposition technique applied during the microscope comparison showed many matching details between the double casting of the drill and the casting of the drill hole.